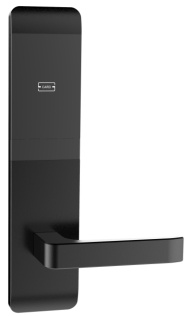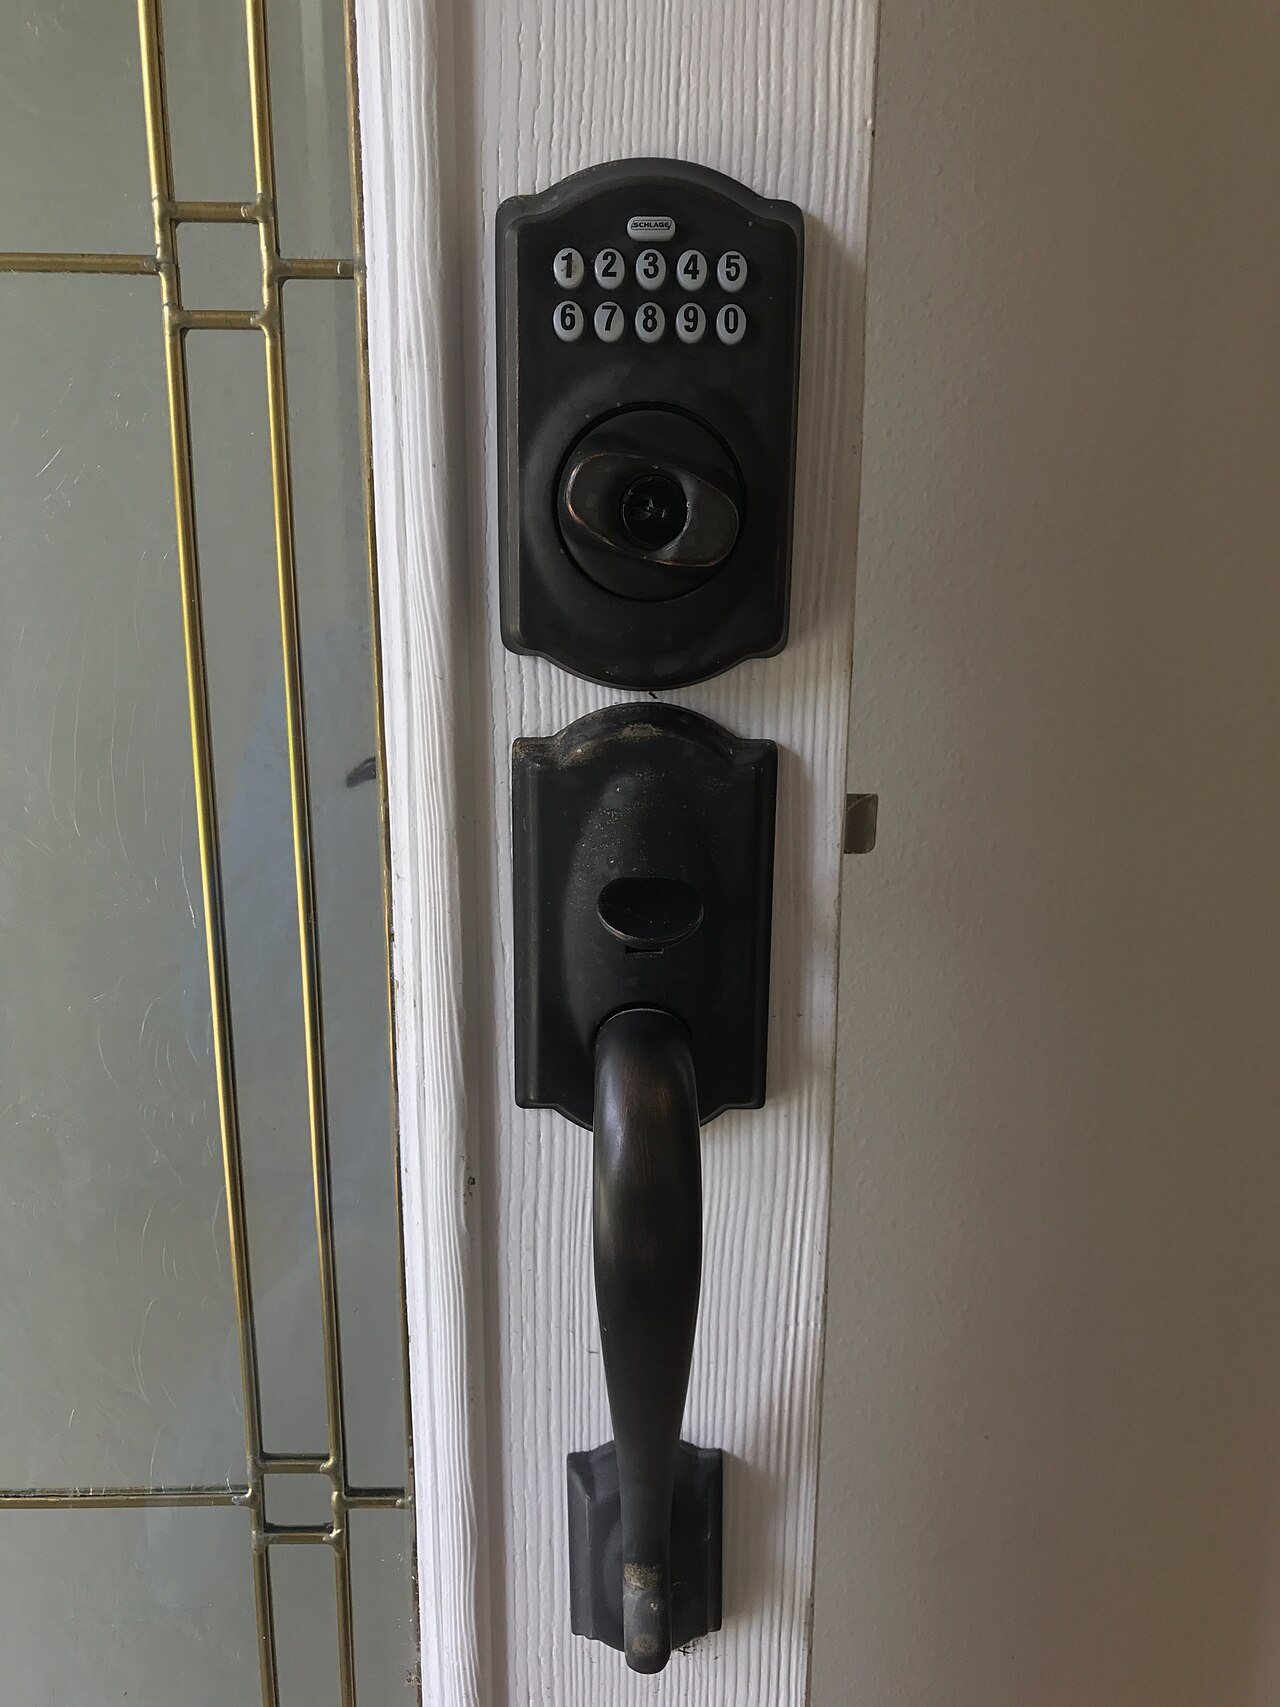
- 1. Pre-Install Inspection: Measure, Inspect Holes, Verify Goods
- 2. Body Mounting: Align, Fasten, Reverse
- 3. Panels & Wiring: Routing, Insulation, Moisture
- 4. Commissioning: Issuing, Authorization, and Linkage Verification
- 5. Common Installation Issues and Fixes
- 6. Acceptance Checklist: Tick Every Item Before Handover
Installation quality determines 80% of a lock's long-term experience. This guide walks through five steps: pre-install inspection, body mounting, panel wiring, commissioning, and acceptance.
1. Pre-Install Inspection: Measure, Inspect Holes, Verify Goods
Pre-install inspection decides whether installation succeeds first time. Step one, measure: caliper the door thickness (commonly 40-70mm) and confirm lock-body spec; record swing direction (left/right, inward/outward) for body and handle reversal; check the frame strike position and gap — an oversized gap stops the latch from seating fully.
Step two, inspect holes: for renovation, measure the old lock's hole centers (e.g. 6068 pattern: 60mm spacing, 68mm offset) against the new model — mismatches require re-drilling, filling, or a same-mortise model; for new builds, verify reserved holes against the maker's template and confirm recessed box position and depth.
Step three, verify goods: unpack against the checklist (body, panels, strike, screws, batteries, emergency keys, manual), check for scratches, latch smoothness, and intact motor wiring. Photograph any issue on the spot and contact the supplier rather than discovering missing parts mid-install.
2. Body Mounting: Align, Fasten, Reverse
Body mounting is all about alignment: after placing the body in the mortise, confirm the latch direction matches the swing (rotate 180° if not), then check the body edge is flush with the door edge — protruding causes hard closing, recessed means the strike never catches.
Fasten in order: two diagonal screws loosely first, check for drift, then all screws, tightened in diagonal alternation to avoid body distortion from one-sided force. Mind screw length on solid or composite doors — over-long screws can poke through the opposite panel.
Run a manual test immediately: push the latch and deadbolt by hand for smooth, springy action; turn the handle for smooth transmission. Do this before mounting panels, when rework costs the least.
For the strike plate, tack it temporarily, close the door, and verify full latch seating — adjust the strike position subtly rather than slamming the door to force it.
3. Panels & Wiring: Routing, Insulation, Moisture
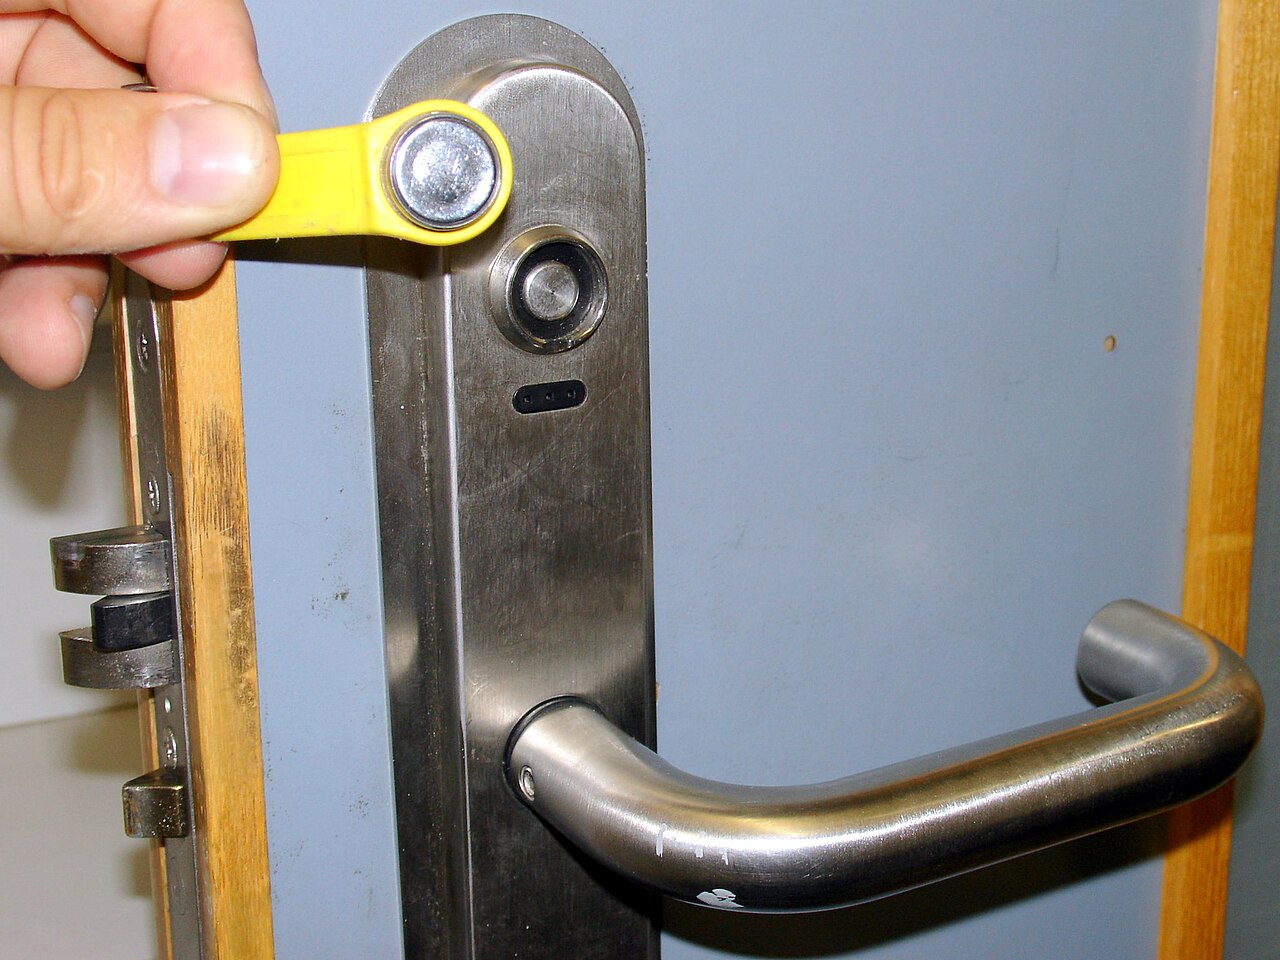
Handle wiring before mounting panels: route motor, reader, and keypad cables through the door mortise, leaving slack to avoid tugging on closure but not so much it bunches inside the panel. Add cable grommets at metal openings to prevent vibration wear on insulation.
Three wiring rules: match the documented pinout exactly — wrong order means malfunctions at best, a burned mainboard at worst; photograph the finished wiring for after-sales reference. Insulate all joints; crimp terminals firmly with no loose connections. Keep power and signal cables separated to avoid AC interference causing unstable card reads.
For outdoor or humid areas (hotel entrances, pool-side rooms), moisture-proofing matters: seal terminals with insulation compound or waterproof connectors, and verify gasket fit between panel and door. A door's interior is a long-term sealed space — once moisture enters it rarely leaves, and it is the main source of electronics corrosion.
Finally install batteries: mind polarity (most locks are reverse-protected), then run the first power-on self-test per the manual — panel indicators, buzzer, and display should all work.
4. Commissioning: Issuing, Authorization, and Linkage Verification
Hardware done is only the beginning; system commissioning is the heart of acceptance. Step one, card verification: issue guest, housekeeper, master, and emergency cards via the software and confirm tiers — guest opens only its room, housekeeper by floor, master globally.
Step two, abnormal scenarios: battery simulation (remove one battery to verify alerts and emergency opening), failed read (unauthorized card must refuse and log), and offline test (normal opening with data storage). Testing these once at acceptance costs a hundred times less than discovering them in operation.
Step three, linkage verification (if signs, power, or guest control exist): does card-insert trigger power, do sign statuses sync, does DND reach the service desk, and is latency within contract? Have both lock and guest-control suppliers commission together and sign the acceptance sheet.
Finally, hand over documentation: installation records, per-room card lists, admin accounts and permissions, and an emergency-key handover receipt. With the full archive filed, the project is truly delivered.
5. Common Installation Issues and Fixes
Issue 1: latch doesn't seat after closing. Usually door sag or strike misalignment. Fix: adjust strike position or shim the hinge side — never slam the door to force it.
Issue 2: handle spins freely or turns stiff. Stiffness on new installs usually means a crooked body or over-tightened screws; free-spinning handle means checking clutch engagement and anti-pry mode.
Issue 3: card not read or short range. Clean the reader surface first, then check reader cabling for pinching or loose contact; if only certain rooms, suspect cable damage during install.
Issue 4: abnormally fast battery drain. Check for continuous leakage (damaged cable short), long-term emergency power use, and clock module anomalies. Contact the supplier for mainboard testing instead of masking with bigger batteries.
Issue 5: loose panel with noise. Usually unfastened screws or uneven force from hole deviation — realign and re-fasten; noise from inside the body means loose parts and needs after-sales.
6. Acceptance Checklist: Tick Every Item Before Handover
Acceptance should tick the following: appearance (no scratches, even gaps, no stripped screws); function (four card tiers verified, each room opened 5+ times); abnormal scenarios (low-battery alert, unauthorized card refusal, offline opening); linkage (signs/power/guest control normal, latency within spec); documentation (installation records, card lists, admin accounts, key handover receipts).
Sample 10% of rooms for "brute testing": 20 consecutive open-close cycles for stable latch rebound, damp-cloth wipe to confirm waterproofing, lights-off to confirm keypad backlight. Record results as the basis for warranty disputes.
Grade the outcome in three tiers: pass (deliver), minor issues (rectify and re-inspect within deadline), major defects (pause acceptance, start supplier handling). Before signing, verify every room's emergency key number matches the registration — the first ledger of security management.
←
How Do Hotel Door Locks Work: From Card Swipe to Door Opening
→
Hotel Door Sign Materials: Acrylic, Stainless Steel, LED and E-Ink